Loading
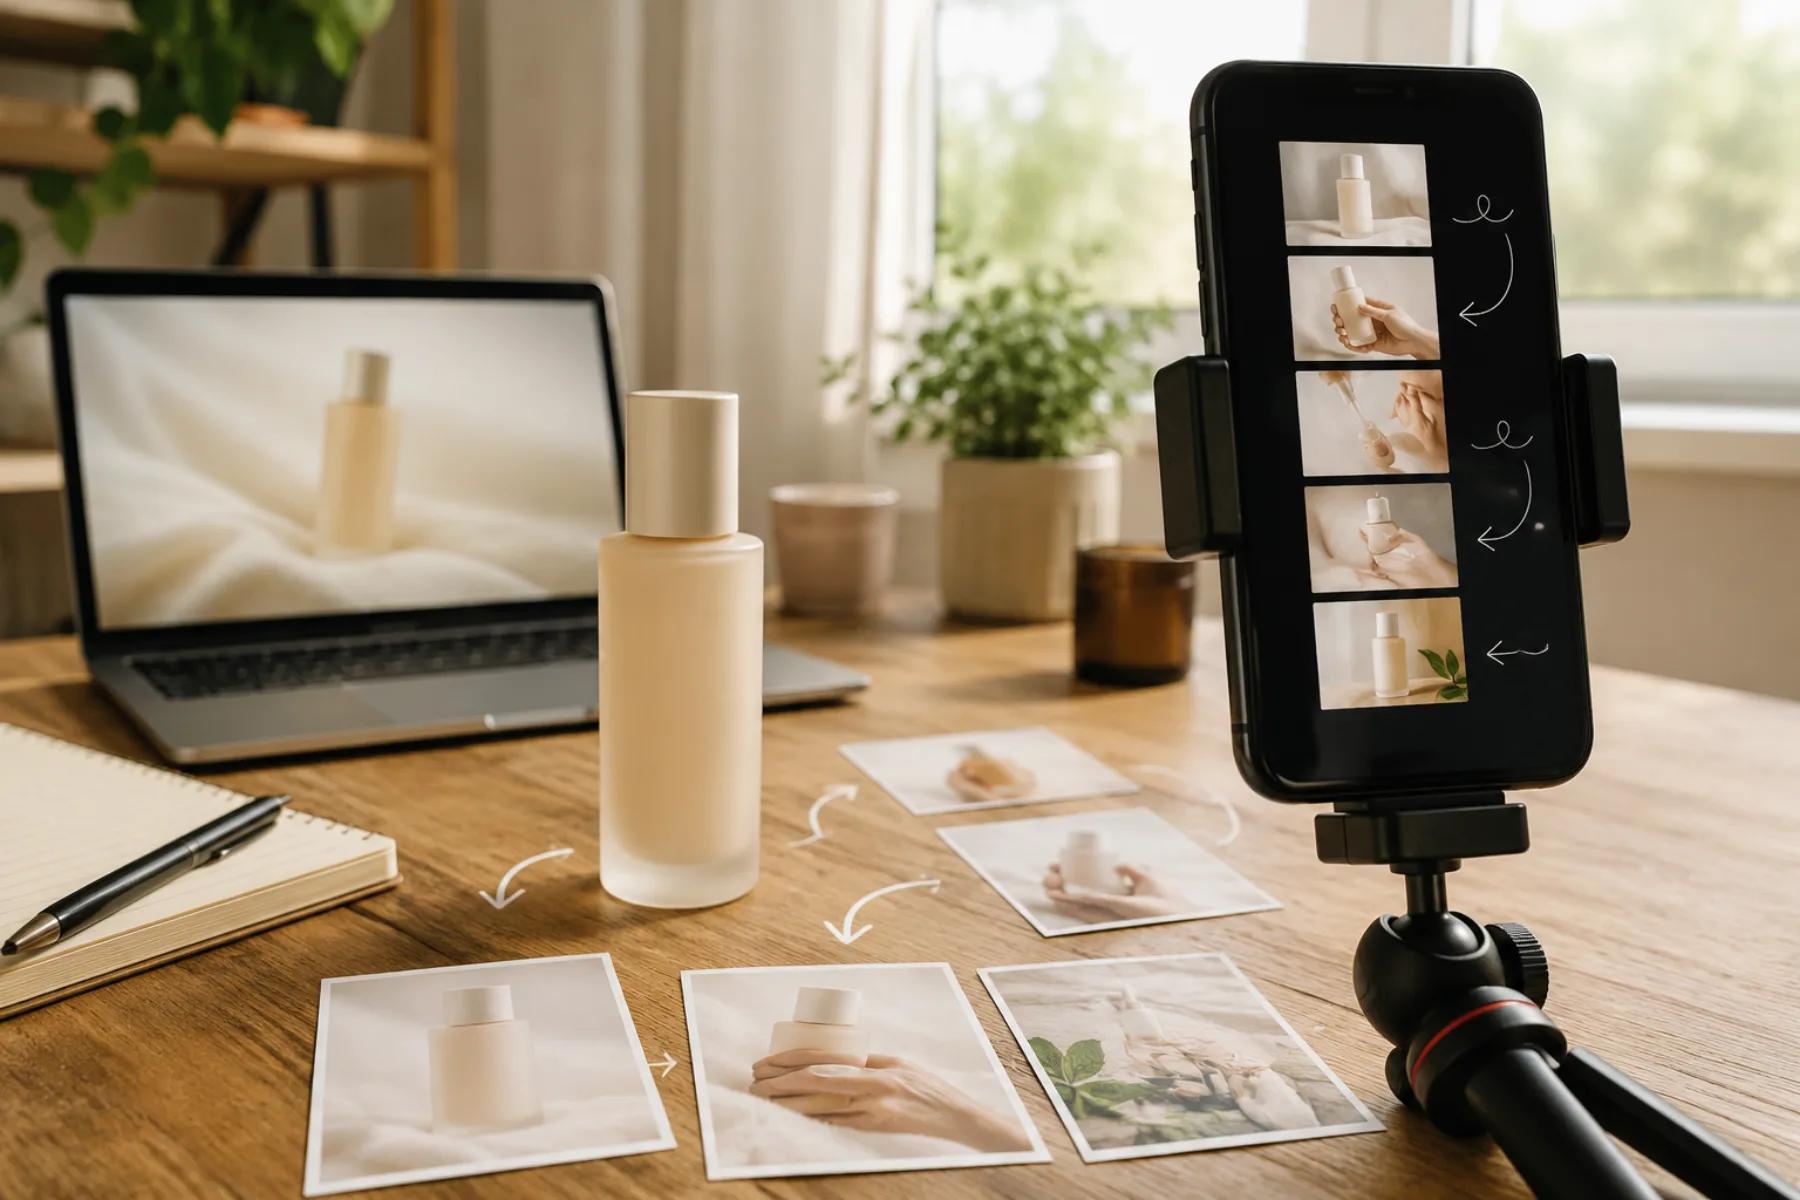
2026/08/10
How to Create an AI UGC Product Video from One Product Image
A practical workflow for turning a single product photo into an AI UGC product video ad: six-shot vertical plan, copy-paste prompts, motion limits, label caveats, edit steps, an A/B matrix, and a pre-launch QA checklist.
You have one clean product photo, no creator footage, no studio day booked, and an ad account that keeps asking for fresh creative. That is the situation this guide is written for.
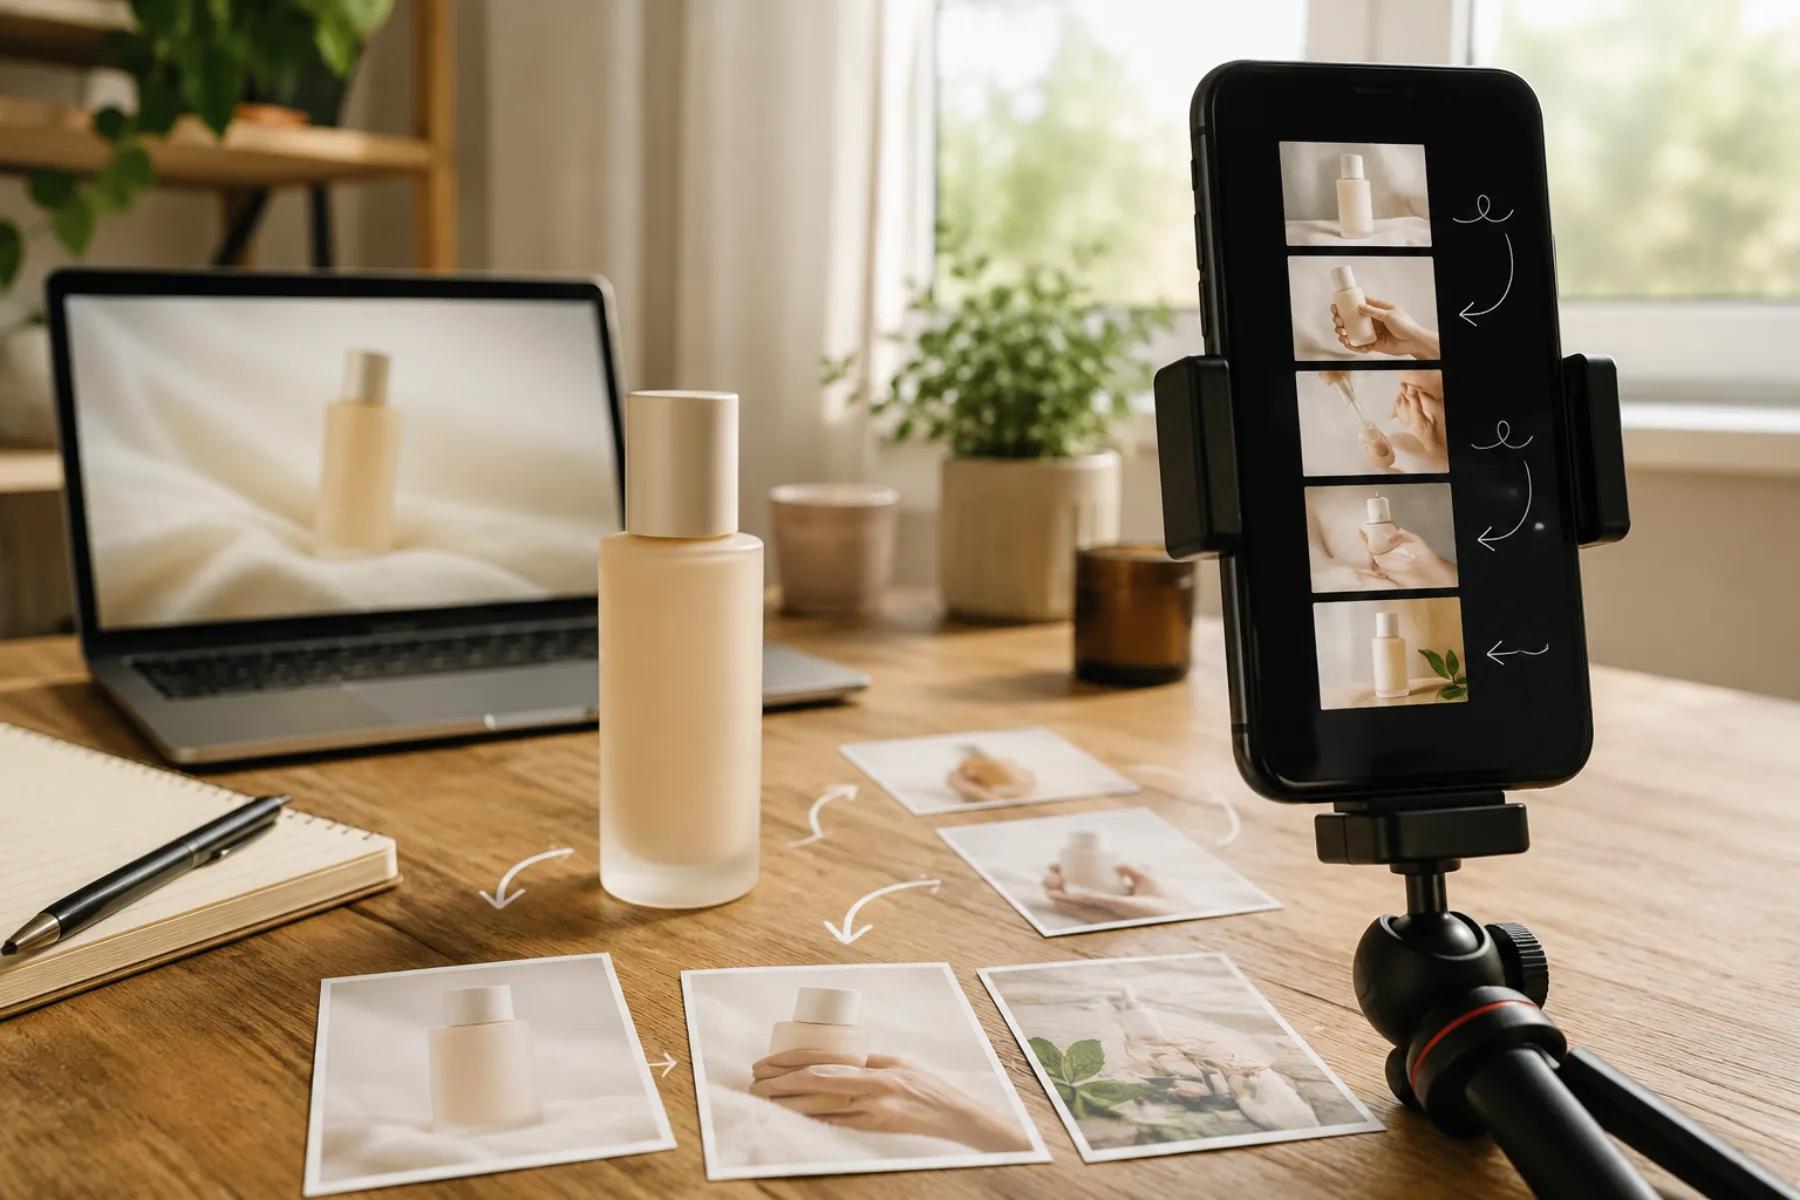
The output we are aiming at is a short vertical video that reads like user-generated content — handheld feel, natural light, ordinary surroundings, the product held or used rather than floated on white. That look tends to fit the way people scroll. But it is worth being precise about what it is: an AI UGC product video is a UGC-style ad that you produced. It is not a customer talking about your product. Those two things are different legally, ethically, and practically, and we come back to that below.
What a single image can and cannot give you
An image-to-video model receives one frame and extrapolates motion from it. Everything it shows you afterwards is an inference, not a recording. That has three consequences worth internalizing before you plan any shots.
It cannot reveal what the photo does not contain. If your packaging photo only shows the front face, asking for a turn to the back will produce an invented back. The model will guess at text, layout, and seams. For a product ad, an invented back panel is not a stylistic choice — it is a statement about your product that is not true.
Small text is the first thing to break. Logos, ingredient lists, dosage numbers, size markings, certification marks: all of these are fine-grained detail, and fine-grained detail degrades as pixels move. Expect drift and plan for it.
Short and slow is easier to control than long and dramatic. Motion quality generally holds up better in brief clips with restrained movement. A plan built from six short beats also gives you more usable edit points than one long take that tries to do everything at once.
If you want to go deeper on which source photos survive animation, the source image selection guide covers the selection criteria in detail.
Step 1: Prepare the source image
Do this before you generate anything. Fixing the input is cheaper than fixing the output.
Pick the right frame
- One clear hero subject. The product should be unambiguous in shape and separated from the background by light or contrast.
- Sharp product edges. Soft edges become smeared edges once they move.
- A believable environment. A counter, a desk, a bathroom shelf, a hand. Pure white cutouts fight the UGC look; they read as catalog.
- Front-facing label, fully legible. If the label is already soft in the still, it has nowhere to go but worse.
- Room to crop. Select or shoot wider than 9:16 so you have latitude to reframe per shot without upscaling.
Prep passes worth running
- Crop a 9:16 master and keep a slightly wider backup.
- Remove genuine distractions — a stray cable, a competitor's box at the edge of frame.
- Nudge exposure so the label is readable but not blown out.
- Do not over-sharpen. Halos around edges tend to animate badly.
- Save a lossless copy. This is your archive frame for label repair later.
Step 2: The six-shot vertical ad plan
This is a structure, not a script. Each shot is a separate short generation, and each one has a single job. Keep every clip in the two-to-four second range and assemble in the edit.
Shot 1 — Scroll-stopper (hold plus micro-move)
Product in frame, minimal motion, natural light. The goal is a legible first frame that survives autoplay with no sound. Do not open on movement so fast the viewer cannot tell what they are looking at.
Shot 2 — Context
Place the product into a real setting: kitchen, gym bag, bedside table, work desk. This is the shot that separates UGC-style from studio.
Shot 3 — Detail
Tighten on one physical attribute — texture, closure, finish, pour spout. One attribute per shot. Do not imply a benefit that cannot actually be seen in the frame.
Shot 4 — In-use suggestion
Hands, partial bodies, implied use. Be conservative here: full faces and complex hand articulation are where artifacts concentrate. Cropping at the wrist or shoulder is a feature, not a compromise.
Shot 5 — Reaction beat
A gesture, a lean-in, a setting-down. This carries feeling without requiring a talking head. If you want a spoken testimonial, record a real one with permission or use scripted voiceover you have rights to.
Shot 6 — Close and reset
Return to a clean, stable product frame that can carry your text overlay and call to action. Overlay-safe framing matters more than motion here.
Step 3: Copy-paste image-to-video prompts
Paste these into image to video along with your prepared frame. Replace the bracketed parts. Keep them short — long prompts tend to dilute rather than sharpen.
Shot 1 — Scroll-stopper
Static camera, very slight handheld drift. [PRODUCT] resting on
[SURFACE], natural window light. Subtle dust motes in the air.
No camera cuts, no label distortion, no text changes.
Shot 2 — Context
Slow push in, 10cm, handheld. [PRODUCT] on [SURFACE] in a lived-in
[ROOM]. Soft daylight from the left, gentle shadow movement.
Product stays fixed and undistorted.
Shot 3 — Detail
Macro, shallow depth of field, minimal camera movement. Close on
the [TEXTURE / CLOSURE / SURFACE] of [PRODUCT]. Light shifts
slightly across the surface. No morphing, no warping of edges.
Shot 4 — In-use suggestion
Handheld, slight sway. A hand enters frame from the right and
rests beside [PRODUCT] on [SURFACE]. Natural skin tones, five
fingers, no finger distortion. Camera holds steady.
Shot 5 — Reaction beat
Handheld medium shot, cropped at the shoulders. Small natural
movement, weight shift, relaxed posture. [PRODUCT] visible in
frame and stable. No facial morphing.
Shot 6 — Close and reset
Locked-off camera, almost still. [PRODUCT] centered on [SURFACE],
clean background, even light. Very slow ambient light drift only.
Leave the upper third uncluttered.
For the vocabulary behind push-ins, orbits, and tilts — and which of them are risky when you only have one frame — see the camera movements guide.
Step 4: Motion constraints that keep clips usable
- Two to four seconds per clip. Longer generations accumulate error.
- One movement per clip. A push-in or a tilt, not both.
- Small amplitude. Think centimeters of travel, not meters.
- Avoid full rotations. A 180° turn requires inventing the unseen side.
- Avoid liquid pours, steam, and flames unless you accept that shape and volume will be approximate.
- Avoid crowds and multiple hands. Complexity multiplies artifacts.
- Keep the product still relative to the camera in any shot where the label must stay readable.
Step 5: Label and packaging preservation
This is the part that separates a shippable product ad from a pretty clip you cannot use.
Assume text will drift, then plan around it.
- Keep the label shot near-static. Motion is the enemy of legibility.
- Reintroduce the label in post. Take the sharp region from your archive frame and composite it back over the generated clip where the product is stationary. On a locked-off shot this is straightforward.
- Use overlays for anything that must be exact. Product name, variant, size, price — set these as text layers, not as generated pixels.
- Reject any clip where a claim, certification mark, or number is altered. A garbled ingredient panel or a warped compliance mark is not an aesthetic problem.
- Do not generate packaging you have never photographed. If you need the back panel, photograph the back panel.
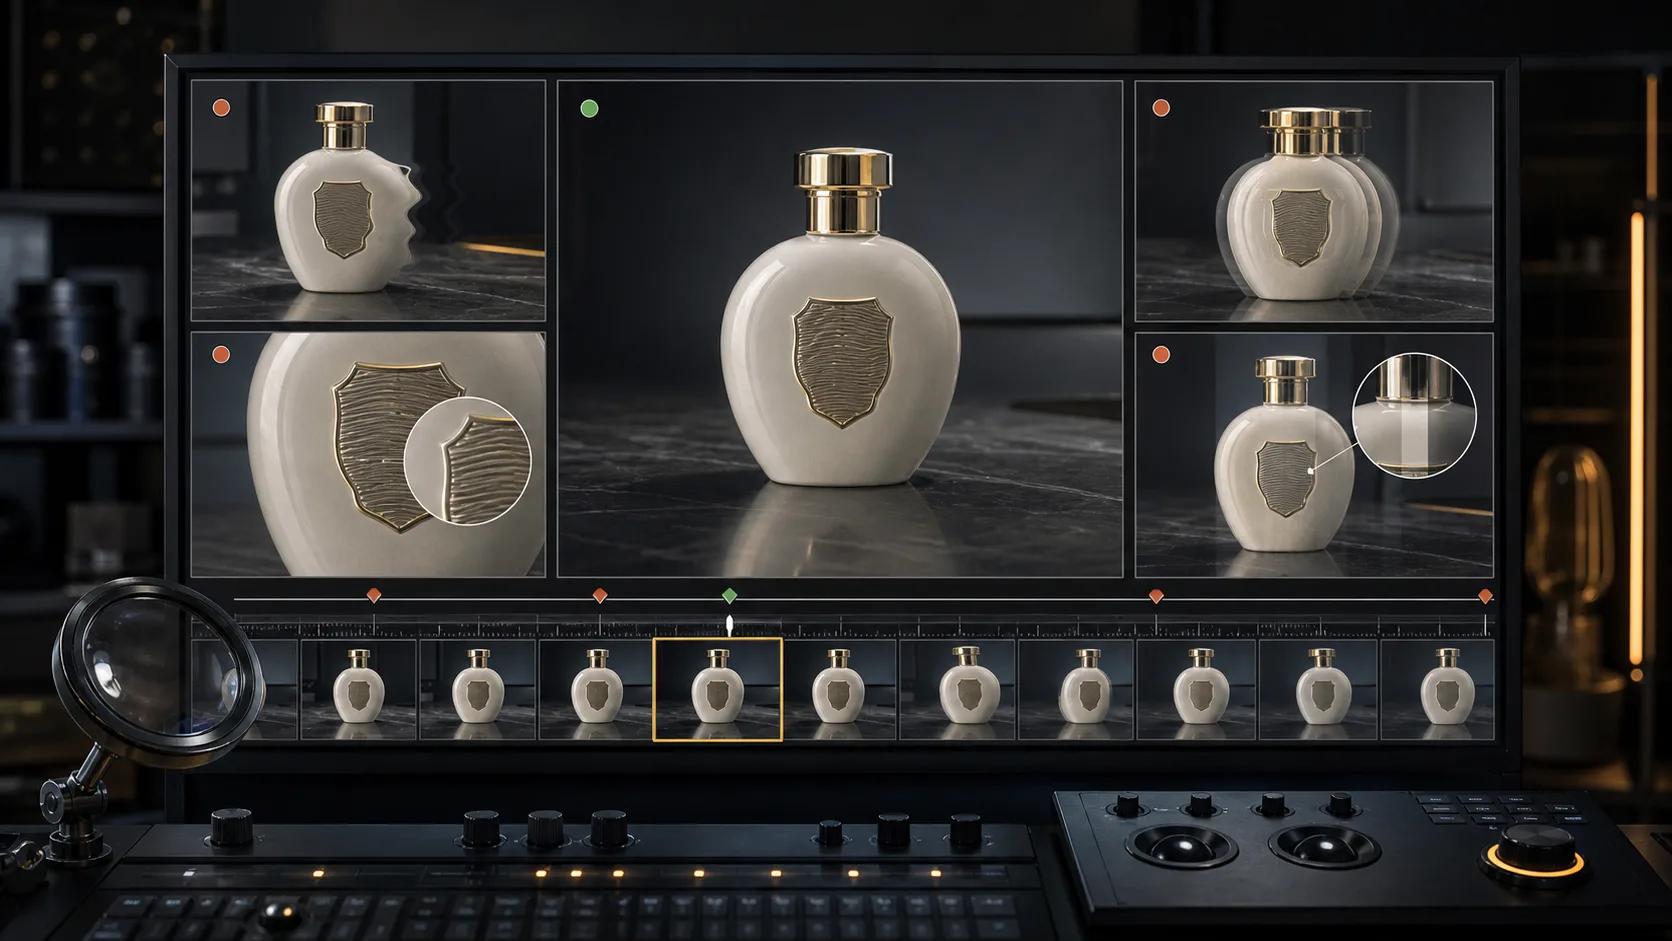
When clips come back with warping, flicker, or melting edges, the artifact troubleshooting guide walks through diagnosis and re-prompting.
Step 6: Editing the six clips into one ad
- Assemble in order, trimming each clip to its cleanest window. Cut before an artifact appears rather than trying to repair it.
- Cut on motion so the handheld feel carries across the joins.
- Reframe to 9:16 with headroom in the top and bottom thirds for platform UI and captions.
- Add captions. Assume sound-off viewing and keep text inside safe margins.
- Sound design last: ambient room tone, a soft tap or rustle on the detail shot, music low. Restraint reads as authentic; polish reads as an ad.
- Export one version with your overlay stack and one without, so you can iterate copy without regenerating video.
- Keep every clip, prompt, and source frame. Winning ads get iterated, and you will want the originals.
Step 7: A/B test matrix
Change one variable at a time or you will not learn anything. A reasonable starting grid:
| Variable | Variant A | Variant B |
|---|---|---|
| Opening shot | Product hold (Shot 1) | Context (Shot 2) |
| Hook style | On-screen question | Direct product statement |
| Detail placement | Early (position 2) | Late (position 4) |
| Hands present | Yes (Shot 4 included) | No (product only) |
| Caption density | Full captions | Key lines only |
| Length | Short cut | Longer cut |
| CTA | Text overlay only | Text overlay plus voiceover |
Run one axis per round and judge on your own platform metrics — thumbstop, hold rate, click-through — not on which clip you personally prefer. The ecommerce product video ads testing workflow covers how to structure rounds so the results are readable.
Disclosure, honesty, and the UGC-style line
Requirements vary by platform and by market, and they change over time. This is not legal advice, and you should check the specific rules that apply to you and to each advertising channel you use. What follows is a general posture that keeps you away from the obvious traps.
- Do not present AI-generated content as a customer review. UGC-style framing is a creative choice. A testimonial is a factual claim about a real person's experience. Never let the first quietly become the second.
- Do not fabricate people who appear to be customers vouching for results. No invented names, no invented before-and-afters, no invented outcomes.
- Do not imply capabilities the product does not have. If a generated clip shows the product doing something it cannot do, the clip is wrong even when it looks great.
- Use the AI-content disclosure controls your ad platforms provide, and label synthetic content wherever they ask you to.
- Keep your source and prompt records. If a claim is ever questioned, being able to show what was photographed versus what was generated is genuinely useful.
- If you want real endorsements, get real endorsements — with permission, and with any required disclosure of the relationship.
Pre-launch QA checklist
Run this before the ad goes live.
- First frame is legible at thumbnail size with sound off
- Product shape is consistent across all six shots
- Label text is correct in every frame where it is readable
- No warped hands, extra fingers, or morphing faces
- No invented packaging surfaces, panels, or seams
- No compliance mark, certification, or number altered by generation
- Colors match the real product across shots
- Captions sit inside the safe zones for your target placements
- Nothing in the creative implies a real customer testimonial
- Platform AI-disclosure settings reviewed and applied
- Clean master export archived alongside prompts and source frame
- One clear call to action, on screen long enough to read
Start with one shot, not six
The fastest way to find out whether this workflow suits your product is to generate Shot 1 only. Prepare the frame, keep the motion tiny, and look hard at the label. If that single clip holds up, the remaining five are the same discipline repeated. If it does not, you have learned something about your source photo for the price of one generation — and that is usually where the real fix lives anyway.
Author

Categories
What a single image can and cannot give youStep 1: Prepare the source imagePick the right framePrep passes worth runningStep 2: The six-shot vertical ad planShot 1 — Scroll-stopper (hold plus micro-move)Shot 2 — ContextShot 3 — DetailShot 4 — In-use suggestionShot 5 — Reaction beatShot 6 — Close and resetStep 3: Copy-paste image-to-video promptsStep 4: Motion constraints that keep clips usableStep 5: Label and packaging preservationStep 6: Editing the six clips into one adStep 7: A/B test matrixDisclosure, honesty, and the UGC-style linePre-launch QA checklistStart with one shot, not six
More Posts
Fashion Photo to Video AI: Lookbooks, Reels & Product Pages
Turn fashion photos into usable motion clips with source-image checks, garment-safe prompts, aspect-ratio planning, frame QA, and batch production tips.
The Best Image for Image to Video AI: A Source Photo Selection Guide
Learn how to pick the best image for image to video AI with a weighted 100-point scorecard, prep workflow, subject-specific advice, motion prompts, and troubleshooting.
AI video artifact troubleshooting: diagnose, fix, or regenerate
A practical decision guide for fixing face drift, object deformation, unwanted camera motion, flicker, broken text, and other image-to-video artifacts.
Newsletter
Join the community
Subscribe to our newsletter for the latest news and updates