Loading
2026/07/27
AI Video Aspect Ratio Guide: Safe Zones for Reels, Shorts, and Widescreen
A practical guide to AI video aspect ratios, safe zones, and reframing for TikTok, Reels, Shorts, feeds, and widescreen delivery.
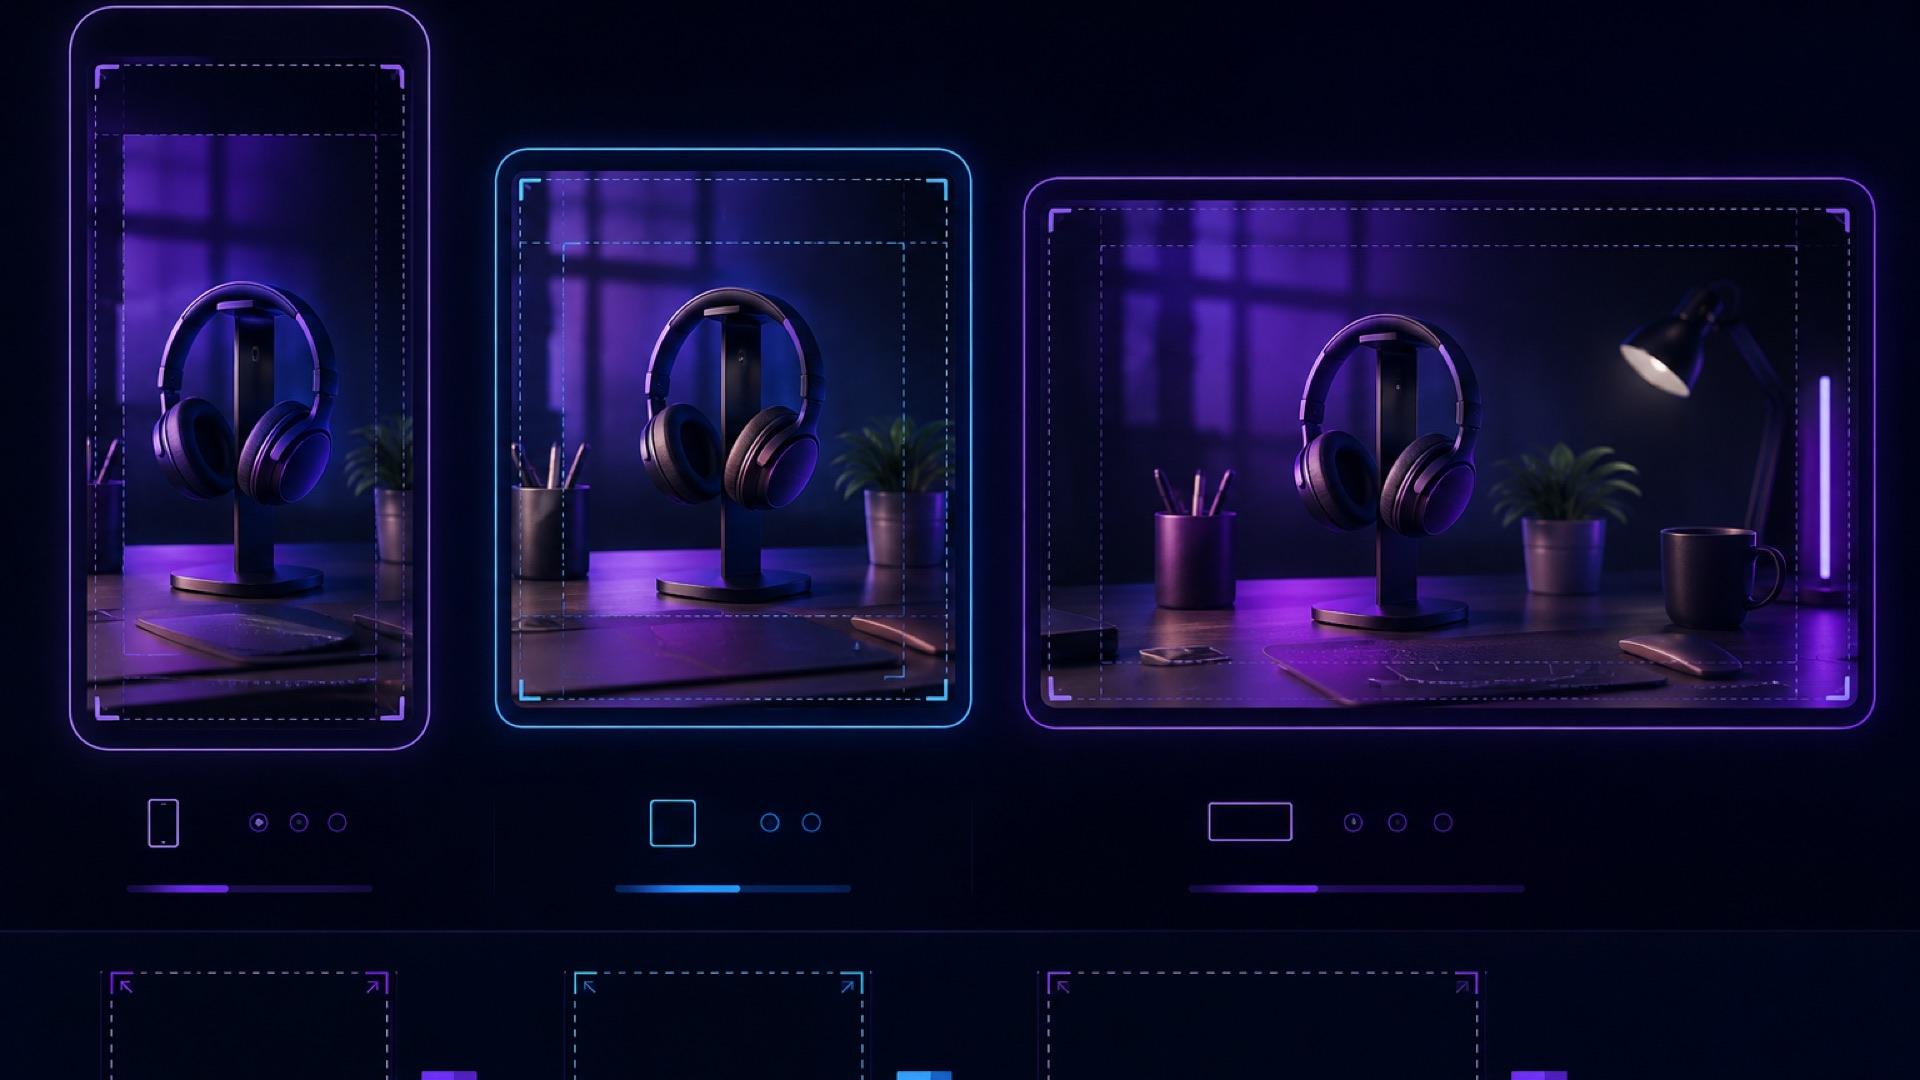
An image-to-video clip can look polished in the generator and still fail after publishing. A caption covers the product on TikTok, action buttons sit over a face on Reels, or a 16:9 crop removes the gesture that makes the shot understandable. These are usually planning problems, not rendering problems.
The solution is to choose the AI video aspect ratio before generation, protect a conservative center-safe composition, and preview every deliverable inside its real destination. This guide gives creators, ecommerce marketers, and small teams a repeatable way to plan 9:16, 4:5, 1:1, and 16:9 versions without relying on pixel measurements that may expire after the next app update.
Why aspect ratio is a creative decision
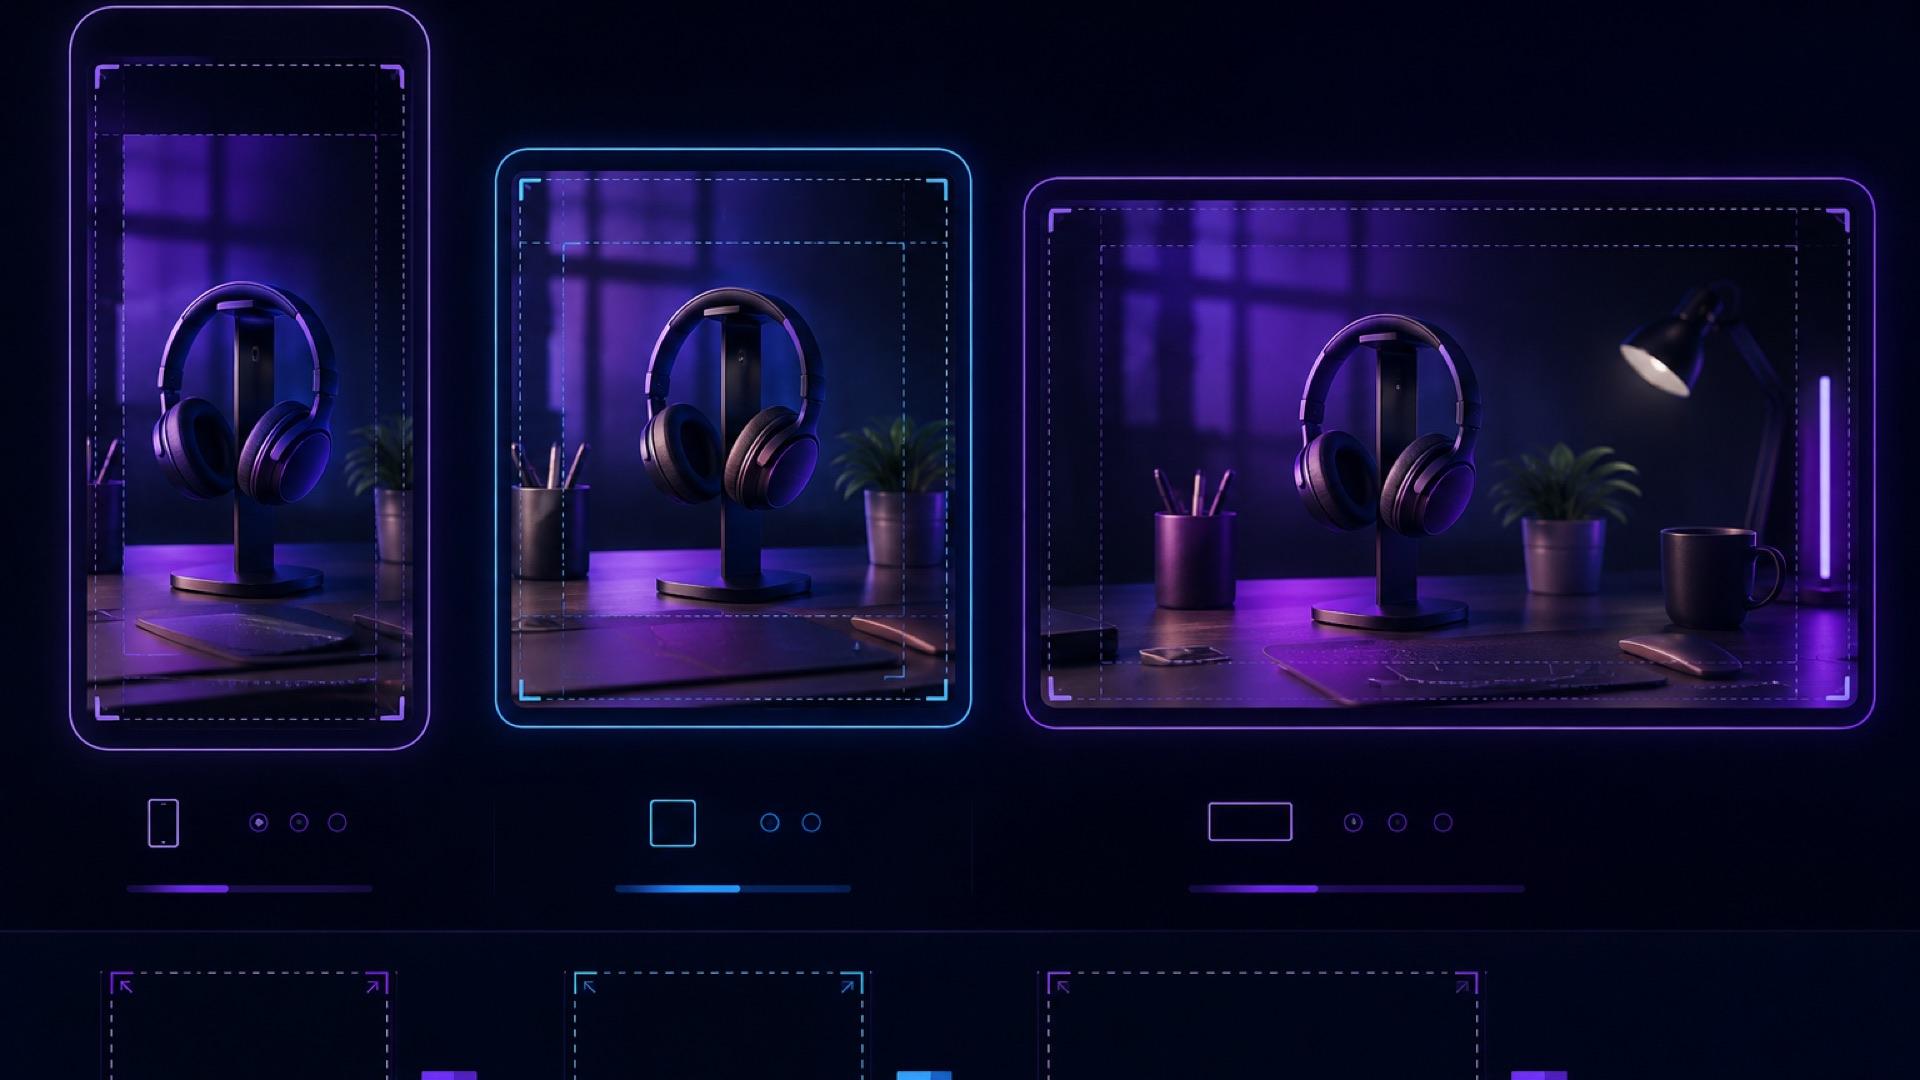
Aspect ratio is the relationship between frame width and height. It does more than set the export container: it determines how much environment can appear beside a subject, how far the camera can travel before the subject approaches an edge, and where there is room for captions or a call to action.
A landscape source image animated for a vertical placement creates an immediate constraint. You must crop the sides, extend the background, or generate a new vertical composition. If important information already sits near the left and right edges, a simple center crop cannot preserve it.
Make the distribution decision first:
- Use 9:16 when TikTok, Instagram Reels, or YouTube Shorts is the primary destination.
- Use 4:5 or 1:1 for feed-first assets when a taller or square post is appropriate.
- Use 16:9 for standard widescreen players, presentations, landing-page embeds, or long-form YouTube delivery.
- Create separate compositions when both vertical and widescreen versions are equally important and one crop would weaken the shot.
TikTok's official creative guidance asks whether content fills a 9:16 screen and respects its specifications and safe zones. Meta likewise recommends 9:16 creative with key elements inside the Reels safe zone. Those recommendations support a vertical-first composition for full-screen mobile placements, but they do not make every other ratio obsolete (TikTok creative tips, Meta Reels ads guidance).
A practical delivery matrix
Platform interfaces and ad specifications change. Treat this table as a planning matrix, then confirm the current requirements in the platform's publishing or ad interface before launch.
| Destination | Starting ratio | Composition priority | Main risk |
|---|---|---|---|
| TikTok | 9:16 | Full-screen vertical, centered subject | Caption and action UI cover edge content |
| Instagram Reels | 9:16 | Full-screen vertical, center-safe details | Feed preview and Reels UI use different visible areas |
| YouTube Shorts | 9:16 | Clear subject in the central column | Title and interaction controls compete with lower/right areas |
| Instagram or Facebook feed | 4:5 or 1:1 | Immediate readability while scrolling | Reusing a 16:9 master makes the subject too small |
| YouTube or web player | 16:9 | Horizontal staging and room for context | A vertical source needs intentional side treatment |
| Multi-platform campaign | Separate 9:16 and 16:9 masters when possible | Preserve the same anchor and visual identity | One automatic crop cannot serve every shot |
Do not confuse ratio with resolution. A 9:16 file may be delivered at several pixel dimensions depending on the platform and workflow. Ratio controls shape; resolution controls pixel count.
Build a center-safe master composition
A “safe zone” can mean two different things:
- The platform safe zone, where interface overlays are less likely to cover content.
- The subject-safe region, an internal production rule that keeps essential content within a conservative central area across crops.
The second is under your control. Define it before generation.
Step 1: choose the non-negotiable anchor
Name the element that must survive every crop: a face, the whole product, a hand demonstration, or a logo added in post. One anchor is easier to protect than five equally important objects.
For a product clip, write a rule such as:
The complete bottle silhouette and cap must remain visible in the central area for the entire shot.
For a portrait:
Both eyes, chin, and hairstyle must remain clear; leave comfortable space above the head and below the shoulders.
Step 2: simplify the edges
Keep expendable background texture near the outer frame. Do not put price text, legal copy, faces, or a product benefit at the extreme top, bottom, left, or right.
This is especially important for moving shots. A subject that begins centered may drift into an interface overlay after an orbit or lateral track. Review the entire motion path, not just the opening frame.
Step 3: reserve text space deliberately
Decide whether text will be burned into the video, added by the platform, or added as captions. If you need a headline inside the video, reserve a quiet part of the frame and keep it away from the outer bands.
Exact safe-zone offsets vary with app version, device, locale, placement, and interface state. Do not hard-code a number copied from an old template and assume it is permanent. Use the latest platform overlay template when one is provided, then preview the uploaded draft.
Generate motion that survives reframing
The safest camera move depends on the crop.
- A locked shot or slow push-in usually adapts well because the subject stays near its anchor.
- A small pan can work if the subject's path remains inside the intended crop.
- A large orbit reveals more background and hidden geometry, making vertical reframing harder.
- A fast lateral track may work in 16:9 but feel cramped after a 9:16 crop.
- A zoom combined with an orbit makes it difficult to predict edge clearance.
Choose one clear move with the AI video camera movements guide, then adapt a prompt from the AI image-to-video prompts library.
Prompt examples
Vertical product shot
Slow, steady push-in on the skincare bottle. Keep the complete bottle
centered and fully visible throughout. Preserve generous clean background
above and below the product. Stable camera, no orbit, no lateral drift.
Portrait for multiple crops
Subtle natural breathing and a gentle blink. Locked camera. Keep the face
centered, both shoulders visible, and the hairstyle unchanged. Background
motion remains soft and does not cross the face.
Widescreen lifestyle scene
Slow dolly left across the breakfast table. Keep the main dish near the
center-right anchor and preserve quiet background space on the left for
editorial text. Stable horizon, no zoom or roll.
Notice that these prompts describe visible constraints. They do not depend on an exact “top 20%” rule that may not match the generator's interpretation or the platform's current overlay.
Reframe one clip into several ratios
When the motion is compatible with multiple crops, use this order:
- Mark the anchor. Track the face, product center, or demonstrated action through the complete clip.
- Create the most constrained crop first. For social-first work, that is usually 9:16.
- Reposition over time. A static center crop may fail when the subject moves. Add gentle position keyframes so the crop follows the anchor without looking like a second, jerky camera move.
- Create 4:5 and 1:1 versions. Recheck text scale; a headline designed for 9:16 may feel oversized in a square.
- Create 16:9 intentionally. If the source is vertical, use a designed background, a restrained blurred fill, or a separate widescreen generation. Never stretch the picture horizontally.
- Export each ratio as its own deliverable. Keep names explicit, such as
serum_orbit_9x16_v03.mp4andserum_orbit_16x9_v02.mp4.
Regenerate when reframing changes the meaning of the shot. If the crop removes the hand using the product, hides the reveal, or forces constant aggressive repositioning, the original motion was not suitable for that ratio.
Safe-zone checklist
Review every vertical export with these areas in mind:
- Top band: leave breathing room for account or placement labels.
- Bottom band: keep essential copy and the CTA away from captions, descriptions, audio labels, and progress controls.
- Right rail: avoid placing a face, logo, price, or product edge against the interaction controls.
- Center: keep the primary subject and the motion's payoff here.
- Caption area: turn captions on during preview; do not assume a silent preview represents the final layout.
For feed and widescreen versions, repeat the same reasoning. A website player may not have a right action rail, but controls can still cover the bottom during interaction.
On-device QA before publishing
A desktop timeline cannot reproduce every platform interface. Run a draft upload or placement preview whenever the platform supports one.
Visual pass
- Watch the complete export at normal speed.
- Pause on the opening frame, the motion extreme, and the end card.
- Confirm faces, product edges, logos, prices, and disclaimers remain readable.
- Check that auto-captions do not collide with burned-in text.
- Confirm the crop does not introduce a second, distracting camera movement.
Technical pass
- Verify the exported file has the intended ratio and orientation.
- Keep the source frame rate through the export unless the destination requires something else.
- Review the actual exported file, not only the editing timeline.
- Check the platform's current file-size, duration, codec, and resolution rules before uploading.
For YouTube delivery, its official upload guidance recommends progressive scan and retaining the native frame rate, among other encoding practices (YouTube recommended upload settings).
Campaign pass
- Use the same naming system across the file, campaign, and analytics report.
- Treat different crops as separate creative deliverables.
- Record whether a performance difference came from framing, message, motion, or audience.
- Follow the ecommerce product video ads testing workflow when comparing creative variants.
Common mistakes
Generating 16:9 and hoping every vertical crop works
A wide establishing shot often makes the central subject too small in vertical. Generate a closer vertical composition or plan a separate vertical master.
Adding text before the crop is approved
Finish the moving-picture crop first. Add captions, price, logo, and CTA after each delivery ratio is locked so typography can be positioned for that frame.
Trusting one safe-zone template forever
Templates are useful snapshots, not permanent laws. Verify their date and source, and inspect a draft in the live platform experience.
Protecting only the first frame
Safe-zone failures often happen at the farthest point of a camera move. Scrub the complete clip and inspect the maximum left, right, top, and bottom positions.
Regenerating when a simple crop would work
Generation introduces new motion and visual variation. If the original shot contains enough space and the anchor stays visible, reframe it first. Regenerate only when the composition or motion genuinely conflicts with the destination.
A repeatable weekly workflow
For each new image-to-video asset:
- List the required placements and ratios.
- Pick the primary ratio and one protected anchor.
- Prepare a source image with clean, expendable edges.
- Write one camera move that keeps the anchor center-safe.
- Generate and review the full motion in ImageToVideoAI.
- Reframe into each required ratio.
- Add text and captions separately for each deliverable.
- Preview on device with platform overlays.
- Export, name, and log each version.
The best AI video aspect ratio is not a universal number. It is the frame that matches the destination while preserving the subject, motion, and message. Decide it upstream, compose conservatively, and verify it in the real player. That small discipline prevents the most expensive kind of creative rework: regenerating a good shot because the platform covered the part that mattered.
Author

Categories
Why aspect ratio is a creative decisionA practical delivery matrixBuild a center-safe master compositionStep 1: choose the non-negotiable anchorStep 2: simplify the edgesStep 3: reserve text space deliberatelyGenerate motion that survives reframingPrompt examplesReframe one clip into several ratiosSafe-zone checklistOn-device QA before publishingVisual passTechnical passCampaign passCommon mistakesGenerating 16:9 and hoping every vertical crop worksAdding text before the crop is approvedTrusting one safe-zone template foreverProtecting only the first frameRegenerating when a simple crop would workA repeatable weekly workflow
More Posts

7 Best Deep Nostalgia Alternatives in 2026 (Free + Paid)
MyHeritage shut down? Here are 7 tools to animate old photos in 2026 — ranked by quality, price, and privacy. Free options included, no signup to start.
Animate old photos & make AI hug videos: 2026 guide
A current, screenshot-based guide to animating old photos and creating AI hug videos with ImageToVideoAI's real workspace.
Come Trasformare una Foto in un Video TikTok con l'AI (Guida Passo Passo 2026)
Trasforma una sola foto statica in un clip verticale 9:16 per TikTok o Reels con l'AI. Una guida con screenshot reali del workspace di ImageToVideoAI, prompt pronti e consigli per la pubblicazione.
Newsletter
Join the community
Subscribe to our newsletter for the latest news and updates