Loading
2026/07/11
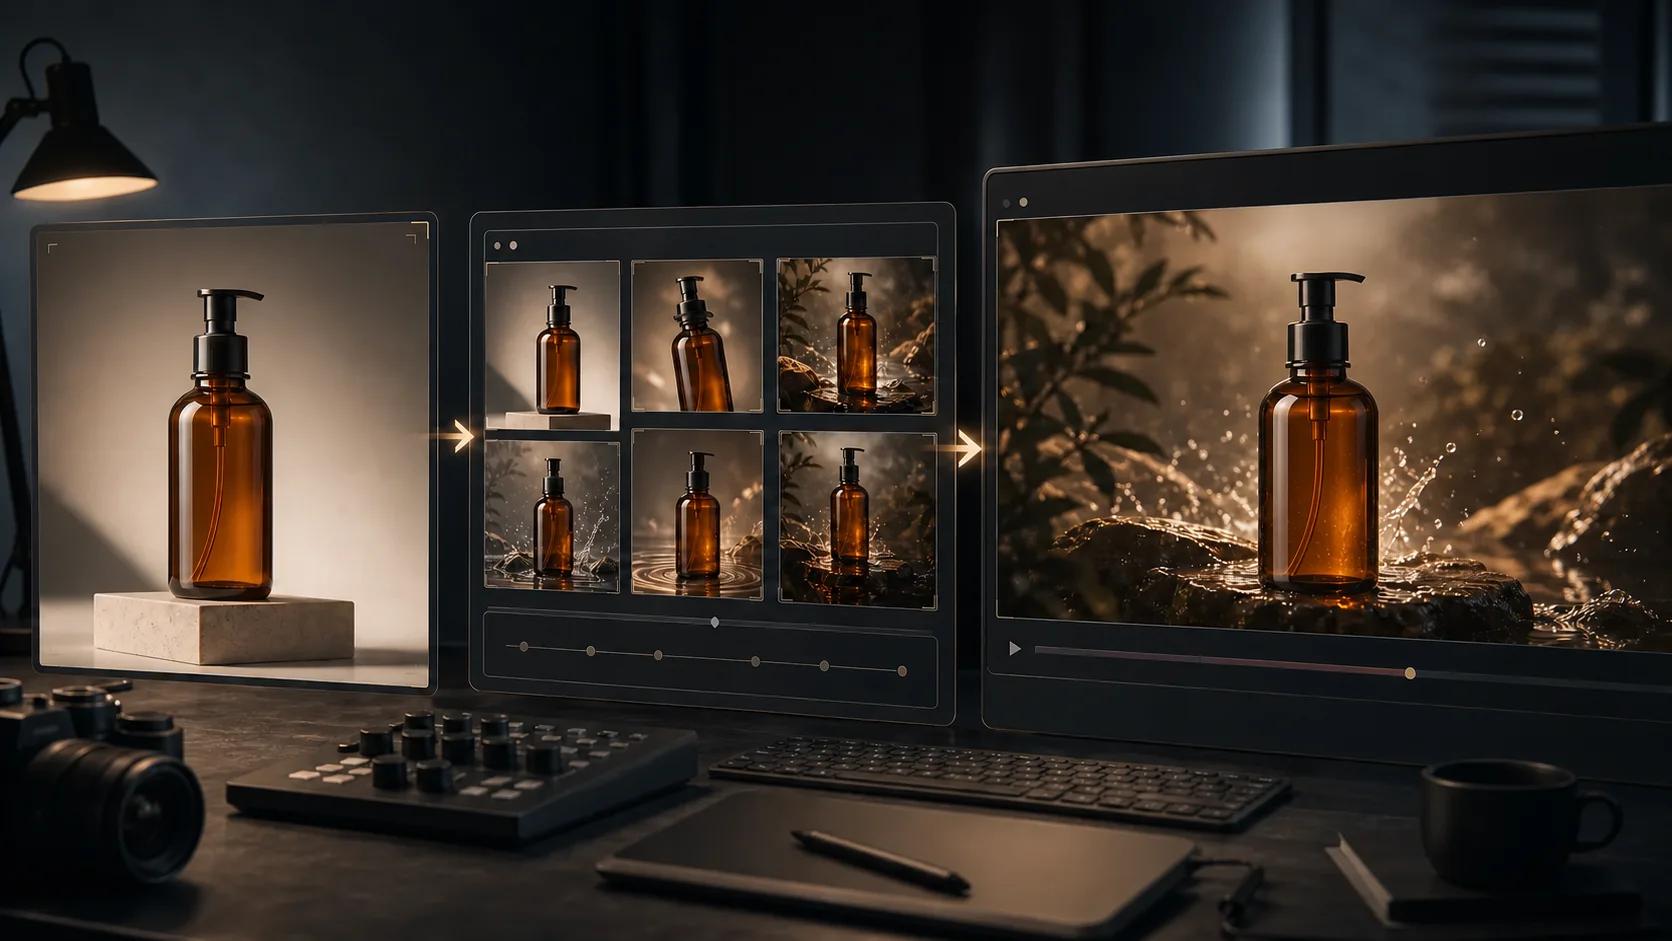
Product photo to AI video: a practical production workflow
A six-step workflow for preparing a product photo, planning motion, writing a controlled prompt, generating, reviewing, and exporting an AI product video.
One clean product photo can become a useful short video, but generation is only one step. The reliable workflow begins before you upload the image and ends after a frame-by-frame review. This guide shows the complete process: prepare the source, choose one motion idea, write a constrained prompt, generate a small test, inspect the result, and export for the actual destination.
If you need a faster introduction first, read the product photo to video ad guide. This article is the production checklist you can reuse once you are ready to make repeatable clips.
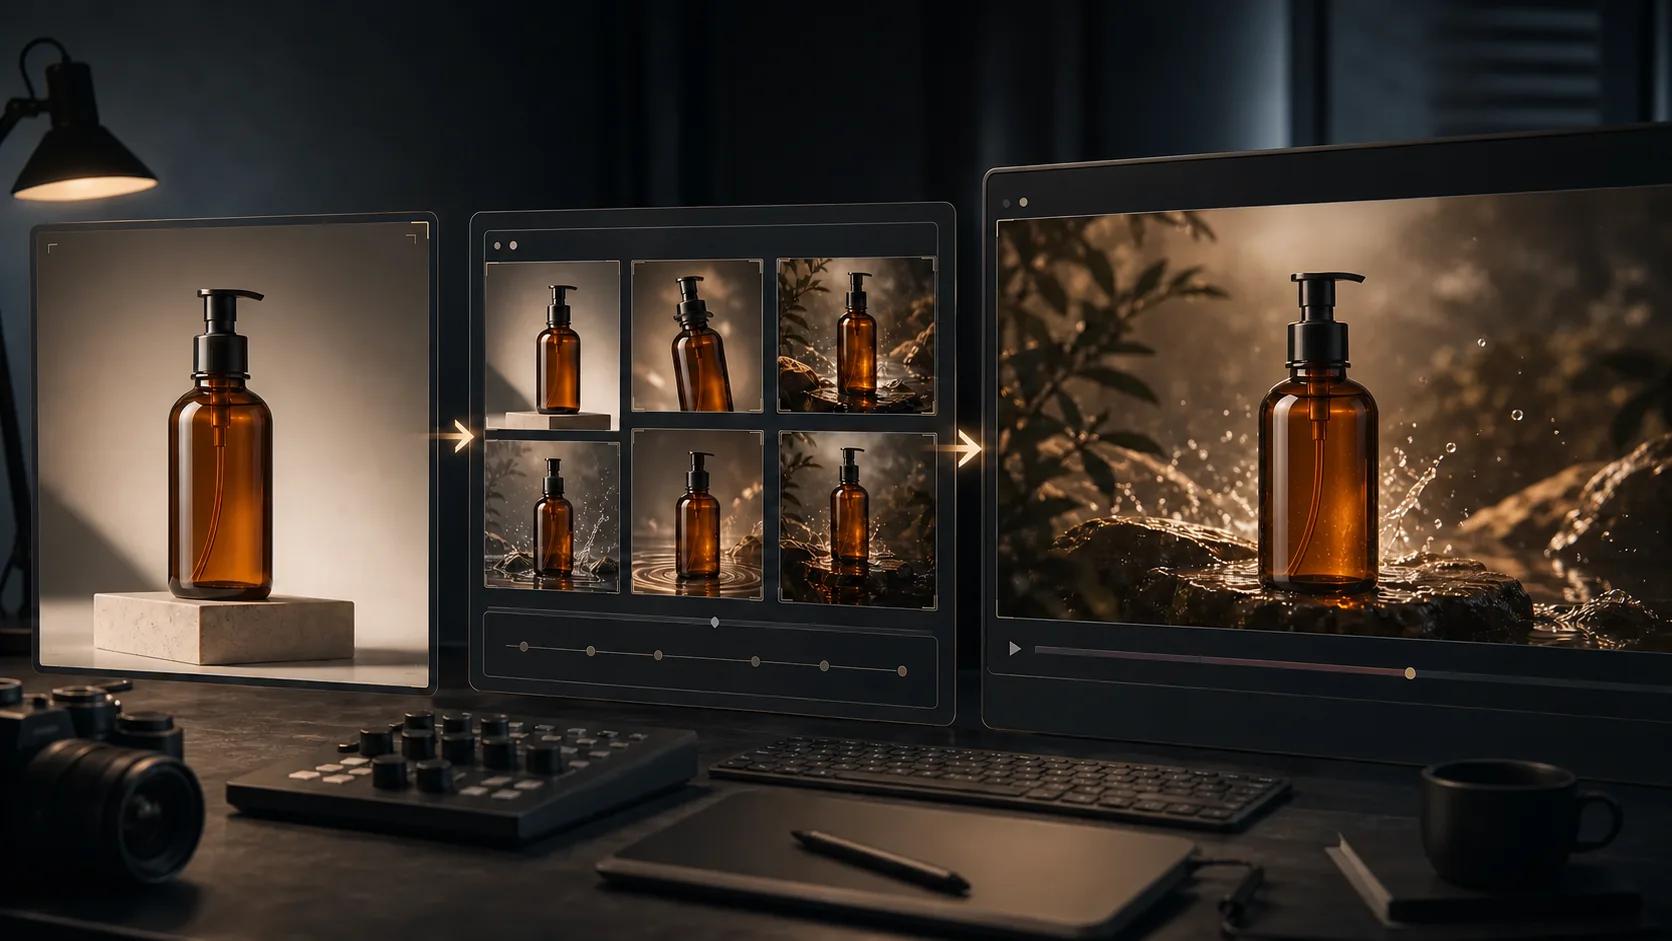
The workflow at a glance
| Stage | Decision to make | Deliverable before you continue |
|---|---|---|
| Source preparation | Is the product easy to identify and reconstruct? | One clean, correctly framed master image |
| Motion planning | What single change should happen in the shot? | A one-sentence shot brief |
| Prompting | Which details must move, and which must stay fixed? | A short motion prompt with preserve clauses |
| Generation | What is the cheapest useful test? | One short draft in the target aspect ratio |
| Review | Is the identity stable for the entire clip? | Pass/fail notes at the frame level |
| Export | Where will the video be published? | A correctly encoded master and platform copies |
Do not skip a failed stage. A weak source image will not be rescued by a longer prompt, and a visibly deformed clip will not be rescued by a higher export bitrate.
Step 1: prepare one strong source image
Start with the largest, cleanest product image you are allowed to use. The product should occupy enough of the frame to expose its important geometry, while leaving room in the direction you expect the camera or subject to move.
Check the image at 100% zoom:
- Shape: the complete silhouette is visible; no edge is accidentally cropped.
- Identity: distinctive colors, closures, controls, seams, and material changes are sharp.
- Label area: small type is legible in the source, even though generated video may not preserve it.
- Lighting: highlights describe the material instead of clipping to pure white.
- Background: there are no objects touching the product edge or reflections that look like extra parts.
- Rights: you own the image or have permission to transform and publish it.
If the background competes with the subject, isolate it with the AI background remover. If the source is genuinely small, use the AI image upscaler before animation—but inspect the enlarged image for invented label strokes or surface detail.
Choose the frame for the destination
Decide the final placement now, not after generation. Cropping a horizontal master into a vertical clip can remove the very space the motion needs.
| Destination | Working frame | Source-image advice |
|---|---|---|
| Reels or TikTok-style vertical feed | 9:16 | Keep the product near center; leave headroom for a push-in or rise |
| Square commerce feed | 1:1 | Use balanced negative space; avoid wide lateral moves |
| YouTube or website landscape | 16:9 | Leave room beside the product for a pan, orbit, or environmental reveal |
TikTok's official creative guidance recommends full-screen 9:16 video and at least 720p for its native vertical experience (TikTok for Business creative tips). YouTube says its player adapts to vertical and square uploads and advises against adding black bars to vertical video (YouTube upload guidance). Generate in the intended shape instead of baking bars into the file.
Step 2: plan one shot, not a whole commercial
Write a one-sentence shot brief using this structure:
The camera [move] while the product [small action], revealing [specific feature], as [lighting or atmosphere] changes subtly.
For example:
The camera makes a slow 45-degree orbit while condensation beads remain fixed to the bottle, revealing the side profile as a soft rim light travels across the glass.
Limit the clip to one primary camera move and one restrained subject action. A request for an orbit, a cap opening, liquid pouring, a background transformation, and a logo reveal in one generation gives the model too many opportunities to alter the product.
Use the AI video camera movements guide to choose between a push-in, orbit, pan, tilt, tracking shot, or locked camera. A locked camera is often the safest choice when label fidelity matters more than spectacle.
Step 3: turn the shot brief into a controlled prompt
A useful image-to-video prompt describes motion without re-describing the entire image. Use four parts:
- Camera: name one movement, its speed, and its range.
- Subject action: describe one physical action in concrete terms.
- Preserve: list the identity details that must not change.
- Finish: state the lighting, mood, and duration.
Copy this template:
Slow [camera move] around/toward [product], approximately [small range].
[One subtle product or environmental action].
Preserve the exact product silhouette, cap, color, material, and label placement.
Stable background, steady camera, soft [lighting], [duration] seconds.
Example:
Slow 45-degree camera orbit around the amber pump bottle.
A narrow warm highlight travels across the glass; the bottle remains still.
Preserve the exact bottle silhouette, pump geometry, amber color, and label placement.
Stable stone background, steady camera, soft studio lighting, 6 seconds.
The preserve clause is a constraint, not a guarantee. If exact text is commercially important, plan to add it as a graphic layer in editing instead of asking the generator to redraw it in every frame. More examples are available in the image-to-video prompt guide.
Step 4: generate the smallest useful test
Open the image-to-video workspace, upload the prepared source, select the target aspect ratio, and run one short draft. Keep a simple generation log:
| Field | What to record |
|---|---|
| Source | Master-image filename or version |
| Prompt | Exact text used |
| Model/settings | Selected model, aspect ratio, and duration |
| Result | Pass, revise prompt, revise source, or reject |
| Defect timestamp | Where the first visible failure appears |
Change only one variable between attempts. If the camera move is too large, reduce the range without changing the source, lighting, and subject action at the same time. This makes the next result informative instead of merely different.
Step 5: review the clip in three passes
Watch once at normal speed, once muted, and once frame by frame.
Pass 1: does the shot communicate?
Can a viewer identify the product immediately? Does the motion reveal a useful material, feature, or context? If the answer is no, revise the shot brief rather than polishing the render.
Pass 2: does product identity hold?
Pause at the first, middle, and last frame. Compare silhouette, cap or controls, label position, color, and reflections with the source. Look closely at thin edges and repeated geometry. A small defect that appears for only two frames can still flash visibly at playback speed.
Pass 3: is the motion physically coherent?
Check that the horizon stays stable, reflections move with the camera, contact shadows remain attached, and background objects do not slide independently. If you find face drift, deformation, flicker, or unstable camera motion, use the AI video artifact troubleshooting guide before spending another generation.
| Review result | Next action |
|---|---|
| Product is stable; shot is useful | Export |
| Product is stable; motion is too strong | Reduce movement and regenerate |
| Same area deforms repeatedly | Repair or simplify the source image |
| Different random defects appear | Keep prompt fixed and test another generation |
| Only text is wrong | Remove it from the generated plate and add text in editing |
Step 6: export for the real destination
Keep one clean master before adding platform-specific captions, music, or end cards. For YouTube, the official upload recommendations specify an MP4 container, H.264 video, progressive scan, the same frame rate used during creation, and BT.709 for SDR video (YouTube recommended upload encoding settings). Those are dependable defaults for a broadly compatible delivery copy.
Before publishing:
- Export at the generated frame rate rather than creating interpolated frames unnecessarily.
- Preserve the native aspect ratio; do not stretch or add baked-in black bars.
- Watch the exported file outside the editor from beginning to end.
- Confirm captions stay inside the destination's safe area.
- Compare the uploaded preview with the local master for color shifts or added compression artifacts.
- Keep the source image, exact prompt, selected output, and final export together.
A reusable preflight checklist
| Check | Pass condition |
|---|---|
| Source | Sharp product, clean edges, permission confirmed |
| Composition | Native target ratio with room for the planned motion |
| Shot brief | One camera move and one subtle action |
| Prompt | Motion, preserve clause, lighting, and duration are explicit |
| Identity | Shape, parts, color, material, and label position stay consistent |
| Physics | Shadows, reflections, background, and camera move coherently |
| Export | Correct ratio, compatible codec, no bars, full playback checked |
Generate your first controlled draft
Choose one clean source and one conservative move. The product photo to video flow is designed for that starting point. Save ambitious scene changes for later; the first goal is a short clip in which the product still looks like the product from frame one to frame last.
Author

Categories
The workflow at a glanceStep 1: prepare one strong source imageChoose the frame for the destinationStep 2: plan one shot, not a whole commercialStep 3: turn the shot brief into a controlled promptStep 4: generate the smallest useful testStep 5: review the clip in three passesPass 1: does the shot communicate?Pass 2: does product identity hold?Pass 3: is the motion physically coherent?Step 6: export for the real destinationA reusable preflight checklistGenerate your first controlled draft
More Posts
AI Portrait Animation From Photo: Subtle Motion Without a Talking Avatar
A practical guide to AI portrait animation from photo: how to prep the image, set a motion budget, write prompts, keep identity, and QA the result.
Product photo to video ads: ecommerce AI guide (2026)
Turn one product image into TikTok Shop, Amazon, Shopify, and Meta video creatives with real screenshots, prompt templates, and an actionable workflow.
Pet photo to video AI: make your dog or cat actually move (2026)
Turn a still photo of your pet into a video where they wag, blink, or stretch — the prompts, the models, and the settings that keep fur texture and face shape intact.
Newsletter
Join the community
Subscribe to our newsletter for the latest news and updates