Loading
2026/08/03
First and Last Frame AI Video: A Practical Guide to Start and End Frame Control
How to plan, prompt, and troubleshoot first and last frame AI video, with copy-ready templates, a shot planning table, and a QA checklist for reliable start-to-end results.
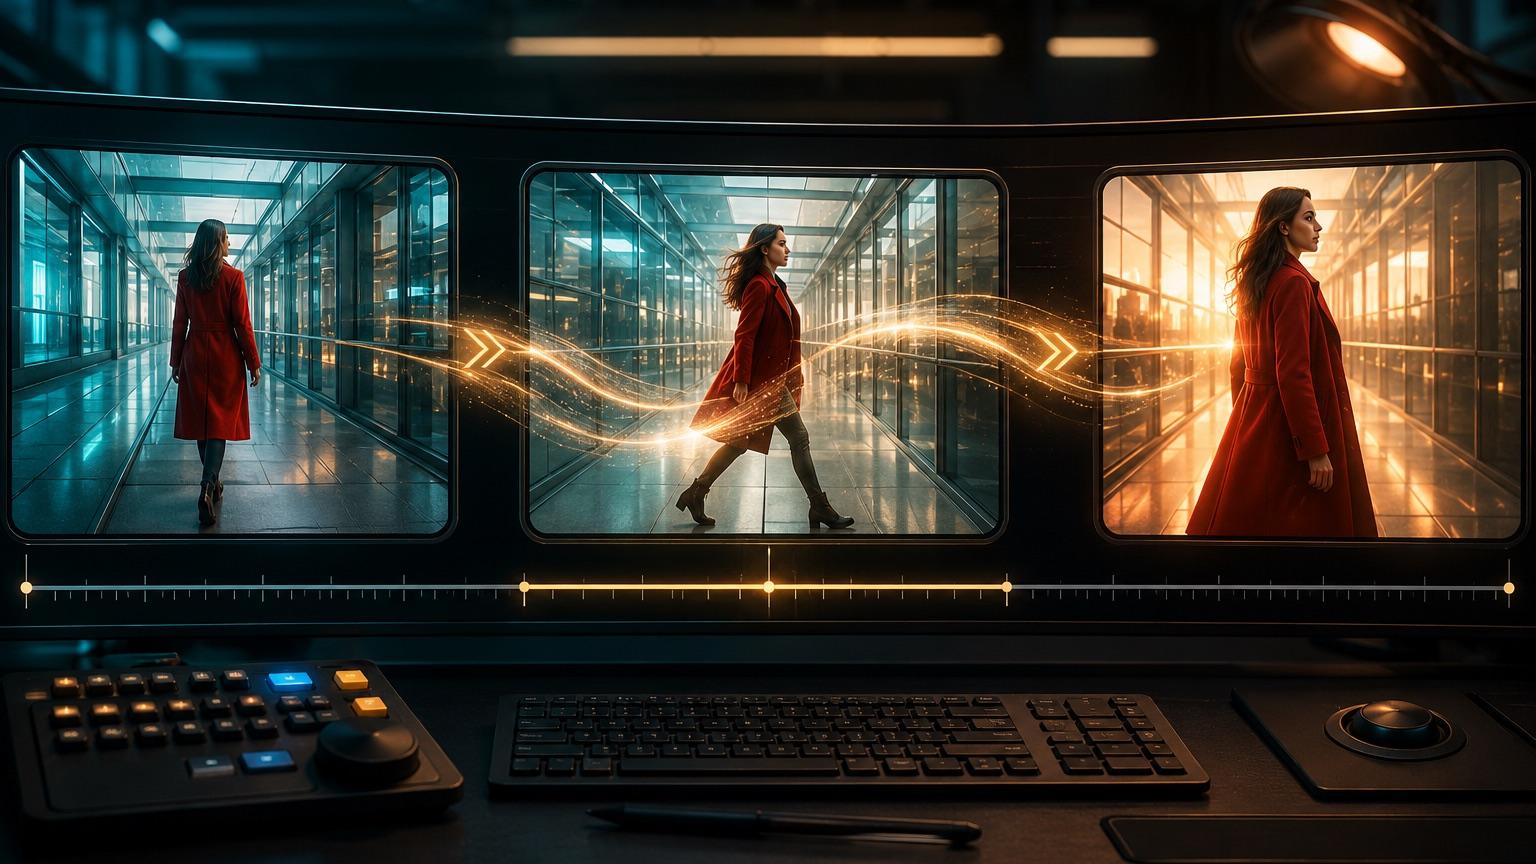
Most image-to-video work starts with a single still and a hope. You write a prompt, press generate, and find out afterward where the camera decided to go. First and last frame AI video flips that: you supply the opening image and the closing image, and the model fills the gap between them.
That single change fixes the most expensive problem in AI video — not knowing where a clip will end up. If you need a product to finish facing the camera, a character to land on a specific expression, or a shot to hand off cleanly into the next one, controlling both ends is the difference between usable footage and a nice-looking accident.
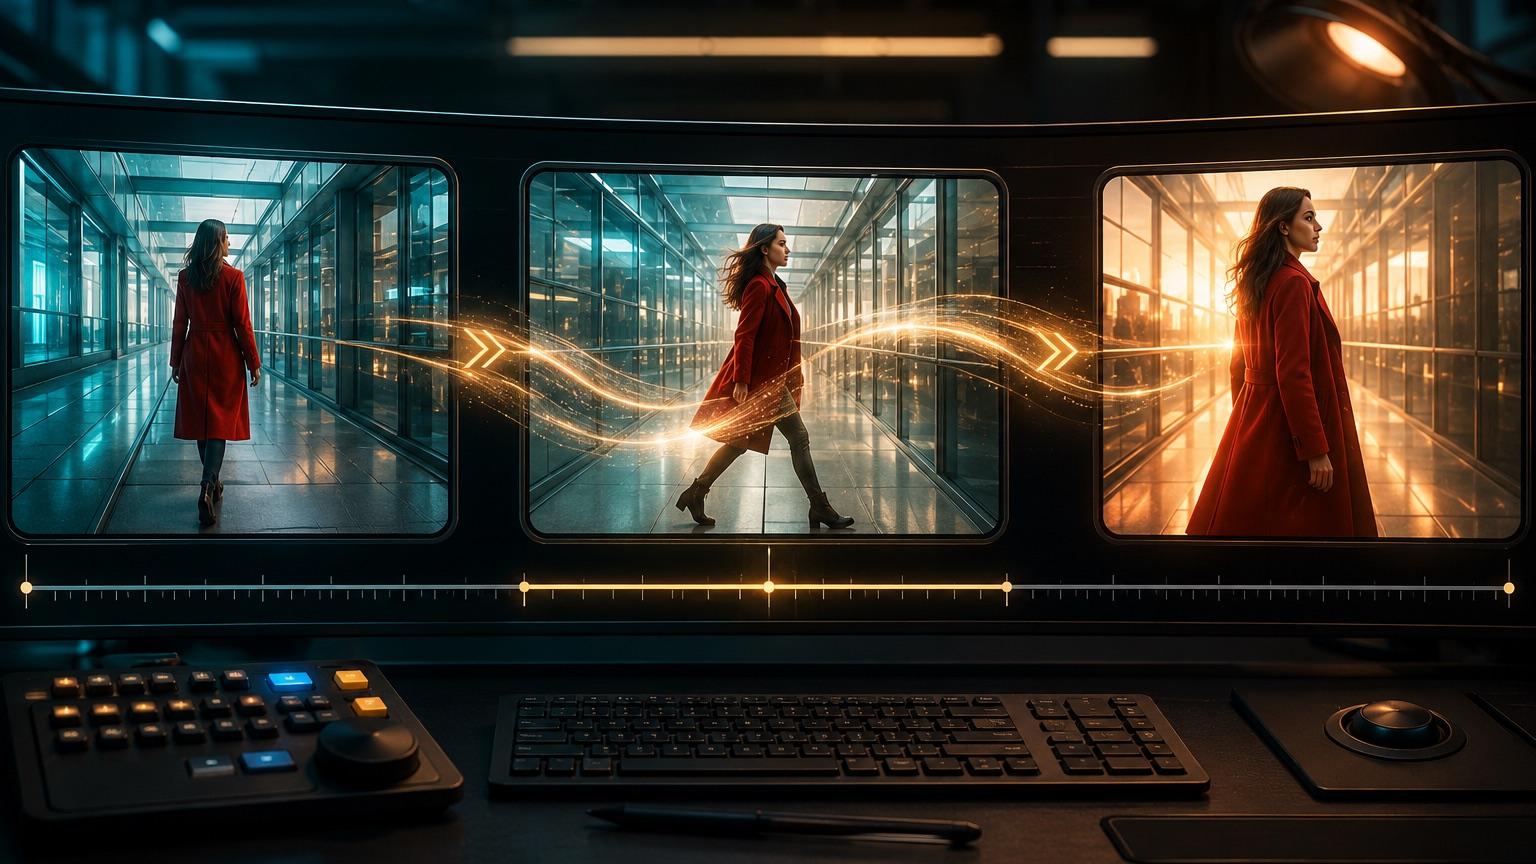
This guide covers what the feature actually does, how to plan a shot for it, prompt templates you can paste, and how to diagnose the failures you will hit. One thing up front, because it saves a lot of frustration: support for start-and-end-frame input varies by model and platform, and where it exists, the model interpolates a plausible path between your two images. It does not execute deterministic keyframes the way an editor or 3D tool does. Same inputs, different run, different in-between. Plan around that and the technique becomes reliable. Fight it and you will burn a lot of generations.
What "first and last frame AI video" actually means
You give the model two anchors. Frame one is where the clip opens. The final frame is where it must land. The model generates every frame between them, trying to produce motion that makes both anchors look like moments in the same continuous shot.
Interpolation, not keyframing
In traditional animation, a keyframe is a contract. You set position at frame 1 and frame 48, and the software calculates the path with math you can inspect and adjust. AI video has no such contract. The model is asked to imagine a motion that plausibly connects two images, and it draws on everything it learned about how objects, bodies, light, and cameras move.
Practical consequences:
- The path is a guess. If a hand is down in frame one and up in the last frame, the model picks a route. It might arc left, arc right, or pass through an anatomically strange midpoint.
- The end frame is a target, not a guarantee. Depending on the implementation, the result may approach the final image without matching it pixel for pixel. Check fine detail such as text, logos, jewelry, teeth, and small hardware.
- Distance drives quality. The more your two frames differ, the more the model has to invent, and invention is where artifacts live.
- Runs vary. Regenerating with identical inputs can produce a meaningfully different in-between.
Where support and behavior vary
Some models accept two image inputs natively. Some accept only a start image, so the end must be approximated by prompt description. Some accept both but weight the first frame far more heavily. Naming differs too — start/end frame, first/last frame, frame interpolation, image-to-image video. Check what your chosen model on ImageToVideoAI's image to video tool exposes before you commit to a plan that depends on hard end-frame control, and test one throwaway clip before you build a whole sequence on an assumption.
When start and end frame control earns its keep
Use it when the landing matters:
- Ecommerce: a bag opens, a shoe rotates from profile to three-quarter hero, a bottle goes from closed to poured. The end state is the money shot.
- Transitions: end clip A on the same composition that opens clip B, making the cut easier to hide without an elaborate editor effect.
- Loops: using the same image for the first and last frame gives the model matching anchors and can make a seamless cycle easier to build. There is more to it than that — see the seamless loop AI video walkthrough for the details that break loops.
- Storyboard execution: if you already have boards, each panel pair is a shot. The storyboard from images guide pairs well with this workflow.
- Reveals: hidden to visible, dark to lit, empty to full.
Skip it when motion is the point and the destination isn't — ambient smoke, crowd movement, water, hair in wind. A single start frame plus a good motion prompt gives more natural results there, because you are not forcing the model toward a fixed pose.
Plan the shot before you generate
Many bad start-and-end-frame results trace back to a planning problem rather than prompt wording. Fill this in before you touch the generator.
| Planning item | Question to answer | Good answer | Warning sign |
|---|---|---|---|
| Shot intent | What must be true at the end? | "Product faces camera, label readable" | "Looks cooler" |
| Frame distance | How different are the two images? | Same subject, same lighting, moderate pose or angle change | Different location, different outfit, different time of day |
| Subject identity | Is it recognizably the same thing? | Same product, same person, same materials | Two loosely similar images |
| Camera change | Push, pull, orbit, or static? | One clear move | Three moves at once |
| Motion budget | Can this happen in your clip length? | One action, comfortably paced | Full walk cycle plus a turn plus a hand gesture |
| Lighting continuity | Does light direction match? | Key light on the same side in both frames | Sunlit start, night end |
| Background | Does it stay put? | Same set, same props, same framing scale | Objects appear or vanish |
| Detail risk | What will the model mangle? | Text and logos identified and kept large | Small type in a corner |
| Handoff | What comes before and after? | End frame matches next clip's start | No plan for the cut |
The two rules that matter most: keep frame distance small, and change one thing at a time. A shot where the camera pushes in and the subject turns and the light shifts will fail more often than three separate clips that each do one of those.
One strong way to improve identity consistency is to derive the end frame from the start frame. Edit the start image rather than generating a fresh one — same base, adjusted pose, angle, or state. Independently generated images create more opportunities for identity, lighting, and background details to disagree.
Copy-ready prompt templates
Fill the brackets. Keep the two frames doing the described work; the prompt exists to describe the path, not to re-describe the images.
General start-to-end structure
Start: [describe frame one in one clause]
End: [describe final frame in one clause]
Motion between: [single continuous action, e.g. subject rotates clockwise]
Camera: [static / slow push in / slow pull back / gentle orbit left]
Pace: [smooth and even, no acceleration]
Keep consistent: [subject identity, outfit, lighting direction, background]
Avoid: cuts, scene changes, extra limbs, morphing, warping text, new objects
Ecommerce product reveal
Start: closed [product] on [surface], three-quarter angle, soft studio light from left
End: [product] open showing [interior detail], front-facing, same light and surface
Motion between: lid opens in one smooth motion as product rotates slightly to face camera
Camera: locked off, no shake
Keep consistent: material texture, logo placement and shape, shadow direction, background seamless
Avoid: text distortion, label warping, reflections changing color, hands entering frame
Character expression or pose change
Start: [subject] in [pose], neutral expression, looking slightly off camera
End: same [subject], same clothing and hair, [target expression], looking into lens
Motion between: head turns toward camera as expression shifts naturally
Camera: very slow push in, minimal
Keep consistent: facial structure, hairstyle, wardrobe, jewelry, skin tone, lighting
Avoid: identity drift, eye distortion, teeth artifacts, hair morphing, head size change
Scene-to-scene transition pair
Start: [scene A composition, matching the previous clip's final frame]
End: [scene A composition with camera moved to frame subject B, matching next clip's opening]
Motion between: single continuous camera move, no cut
Camera: [pan right / tilt up / dolly forward] at even speed
Keep consistent: exposure, color temperature, grain, background continuity
Avoid: hard cuts, speed ramps, lighting jumps, new elements entering
Environment or lighting shift
Start: [location] under [initial light condition]
End: same [location], identical framing, under [target light condition]
Motion between: light changes gradually across the scene, geometry stays fixed
Camera: static
Keep consistent: architecture, object positions, framing, lens character
Avoid: camera drift, objects moving, structural changes, flicker
End-to-end workflow
1. Define the landing. Write the required end state in one sentence before making any images. If you can't, you don't have a shot yet.
2. Build the start frame. Get it right at full resolution. Composition, lighting, and detail all propagate forward.
3. Derive the end frame from it. Edit rather than regenerate. Preserve subject, wardrobe, materials, background, and light direction. Change only what the shot requires.
4. Audit the pair side by side. Toggle between them. Anything that changes and shouldn't will either morph or pop mid-clip. Fix it now, not later.
5. Choose duration honestly. Shorter clips hold identity better. Long clips give the model room to wander. If the action needs more time than a short clip allows, split it into two shots with an intermediate frame.
6. Write the motion prompt. One action, one camera move. Describe the path, not the pictures.
7. Generate a small set of attempts. Because runs vary, compare a few results before repeatedly rewriting the prompt around one random output.
8. Review at full speed and frame by frame. Full speed catches rhythm problems. Stepping through catches artifacts, especially in the middle third where the model is least anchored.
9. Trim and stitch. Cutting a few frames off each end often removes the worst drift. Match your handoff frames when assembling.
10. Log what worked. Frame pair, prompt, duration, model. This is the only thing that makes shot two faster than shot one.
Failure diagnosis
| Symptom | Likely cause | Fix |
|---|---|---|
| Subject morphs or identity drifts mid-clip | Frames too far apart, or end frame generated independently | Derive end frame from start frame; reduce the change |
| Motion stalls then snaps to the end | Action too large for the clip length | Shorten the change, lengthen the clip, or split into two shots |
| Text and logos warp | Small or low-contrast type | Enlarge the type, simplify it, or composite it back in post |
| Hands or limbs distort | Model inventing an unseen path | Add an intermediate frame, or reframe to exclude the problem area |
| Final frame doesn't match your end image | Normal interpolation drift | Trim trailing frames; accept close-not-exact; keep detail large |
| Background objects appear or vanish | Backgrounds differ between frames | Match backgrounds exactly; use a clean plate |
| Camera drifts when it should be locked | Prompt implies movement | State "static camera, locked off"; remove movement words |
| Visible flicker or texture crawl | Model instability across the sequence | Regenerate; see the artifact troubleshooting guide |
| Lighting jumps partway through | Light direction differs between frames | Match key light and color temperature |
| Result looks fine but feels wrong | Motion path is physically implausible | Add an intermediate frame to constrain the middle |
The intermediate frame trick deserves emphasis. When a two-frame pair keeps producing a strange middle, generate two shorter clips — start to middle, middle to end — and join them. You are adding an anchor exactly where the model was guessing most.
For camera-driven shots specifically, the vocabulary matters as much as the frames. The camera movements guide covers which terms models tend to interpret consistently.
QA checklist
Run this before a clip ships.
- End state matches the written shot intent
- Subject identity holds from first frame to last
- Wardrobe, materials, and props unchanged unless intended
- Text, logos, and labels legible and undistorted throughout
- Hands, faces, and limbs clean in the middle third
- Lighting direction and color temperature consistent
- Background stable — nothing appears, vanishes, or slides
- Camera behaves as specified, no unintended drift or shake
- Motion pace even, no stall-then-snap
- No flicker, crawl, or texture boiling
- First and last frames match the neighboring clips in the edit
- Checked frame by frame, not just at full speed
- Checked at delivery resolution on the target platform
- Frame pair, prompt, and settings recorded
FAQ
Does every AI video model support first and last frame input?
No. Support varies by model and platform, and so does the terminology and the behavior. Some accept two images natively, some accept only a start image, and some accept both but weight the opening frame more heavily. Verify with a single test clip before planning a sequence around it.
Will the output end exactly on my last image?
Usually close, rarely exact. The model interpolates toward the target rather than snapping to it, so fine detail tends to drift. If your end frame must be pixel-perfect — a locked product hero, a logo lockup — plan to hold that frame as a still in your edit rather than relying on the generated final frame.
Why do identical inputs give different results?
Generation is not deterministic in the way an editor is. The model samples a plausible motion path each run. This is why batching several attempts is more efficient than iterating one at a time, and why recording what worked matters.
How different can my two frames be?
Less than you want them to be. Same subject, same set, same lighting, one clear change. Cross-location or cross-costume pairs are better handled as two separate shots with a cut between them.
Can I use this for transitions between scenes?
Yes. End clip A on the composition that opens clip B and the join becomes easier to hide, though motion speed, lighting, and texture must also match. It requires planning your frame handoffs in advance, which is exactly what a storyboard is for.
What clip length works best?
Shorter generally holds identity and detail better. Longer clips give the model more room to drift. If your action genuinely needs more time, split it and add an intermediate anchor frame rather than asking one generation to cover the whole span.
Do I still need a prompt if I have both frames?
Yes. The frames define the endpoints; the prompt defines the path. Without it, the model chooses a route on its own — often the least interesting or least plausible one. Describe the motion and the camera, and name what must stay consistent.
Start-and-end-frame control doesn't make AI video deterministic. It makes it directable, which is what most projects actually need. Keep your two frames close, change one thing, describe the path, and compare a few attempts. When you're ready to build a shot, check which mode your chosen model exposes in the image to video tool; if it accepts both anchors, test the pair before you plan the sequence around it.
Author
Categories
What "first and last frame AI video" actually meansInterpolation, not keyframingWhere support and behavior varyWhen start and end frame control earns its keepPlan the shot before you generateCopy-ready prompt templatesGeneral start-to-end structureEcommerce product revealCharacter expression or pose changeScene-to-scene transition pairEnvironment or lighting shiftEnd-to-end workflowFailure diagnosisQA checklistFAQDoes every AI video model support first and last frame input?Will the output end exactly on my last image?Why do identical inputs give different results?How different can my two frames be?Can I use this for transitions between scenes?What clip length works best?Do I still need a prompt if I have both frames?
More Posts

Product photo to video ads: ecommerce AI guide (2026)
Turn one product image into TikTok Shop, Amazon, Shopify, and Meta video creatives with real screenshots, prompt templates, and an actionable workflow.
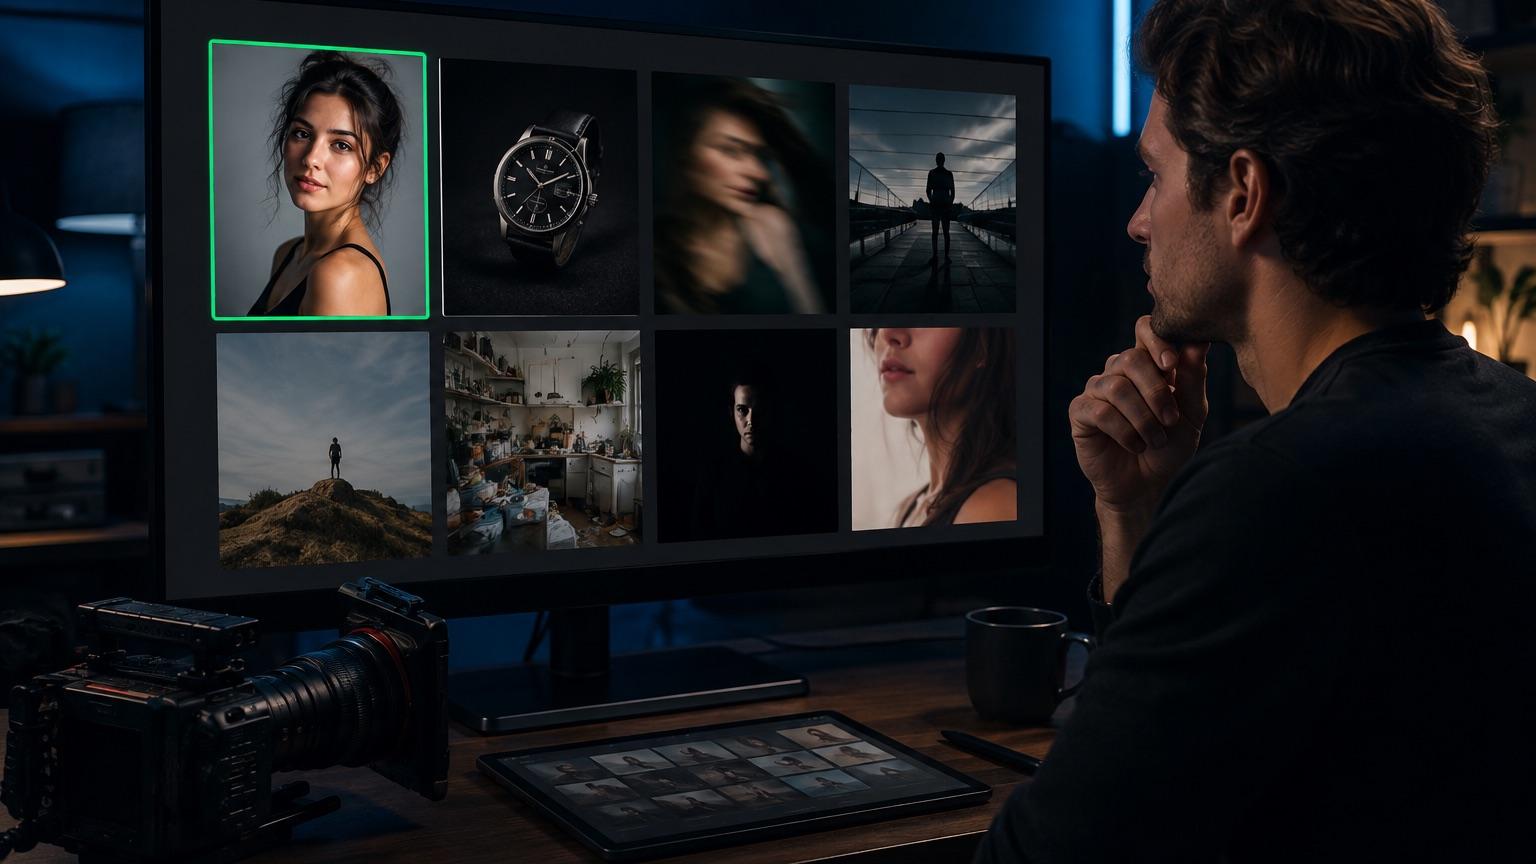
The Best Image for Image to Video AI: A Source Photo Selection Guide
Learn how to pick the best image for image to video AI with a weighted 100-point scorecard, prep workflow, subject-specific advice, motion prompts, and troubleshooting.
The AI Video Storyboard Playbook: From Images to a Shot-Ready Sequence
Build an AI video storyboard from still images with a six-shot template, continuity rules, prompt cards, versioning, and a practical QA checklist.
Newsletter
Join the community
Subscribe to our newsletter for the latest news and updates